Stop wasting time on bagels that turn out dense, sticky, or bland. This recipe fixes all that. We tested every step to give you soft, chewy, high-protein bagels that come out perfect every time. Whether you’re new to baking or already confident in the kitchen, you’ll follow this method easily and bake these in your oven or air fryer without any guesswork.
Table of Contents
Why You’ll Love This Recipe
- Save time with a quick recipe that comes together in under 30 minutes
- Use just a few simple ingredients you already have
- Bake soft, chewy bagels that taste amazing and feel satisfying
- Impress guests with a healthier, high-protein twist on a classic
- Make them in the oven or air fryer without any special tools
This recipe stands out because it solves common bagel problems. It avoids sticky dough, gives you perfect rise, and packs serious flavor without yeast or long prep. You’ll feel proud pulling these out of the oven, whether you serve them at brunch or grab one post-workout.
Ingredients You’ll Need To Make cottage cheese bagel
The Only Cottage Cheese Bagel Recipe You’ll Ever Need
Ingredients
Method
- Preheat your oven to 375°F (190°C) or your air fryer to 350°F (175°C). Position the oven rack in the top position for even browning.
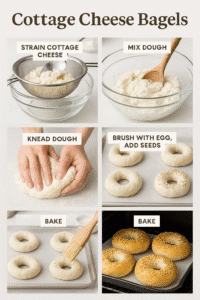
- Scoop cottage cheese into a fine-mesh sieve or cheesecloth and press firmly with a spoon to drain excess liquid.
- In a large bowl, combine strained cottage cheese, flour (and baking powder/salt if not using self-rising flour). Stir until a sticky dough forms.
- Lightly flour a clean surface, turn the dough out, and knead gently just until it comes together. Avoid overworking.
- Divide the dough into 4–6 equal pieces. Roll each into a log and form into a ring shape. Place on a parchment-lined tray or air fryer basket.
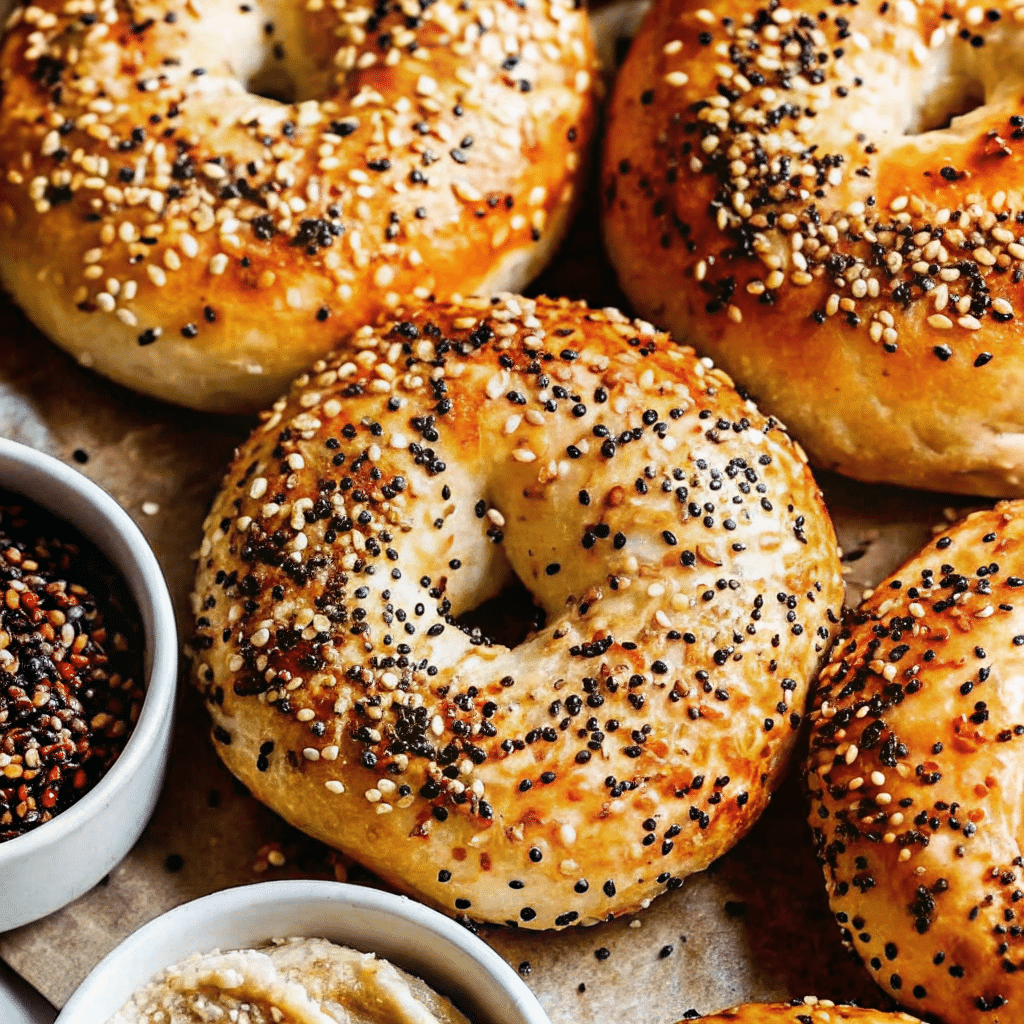
- Optional: Whisk the egg and brush it over the tops. Sprinkle your choice of toppings.
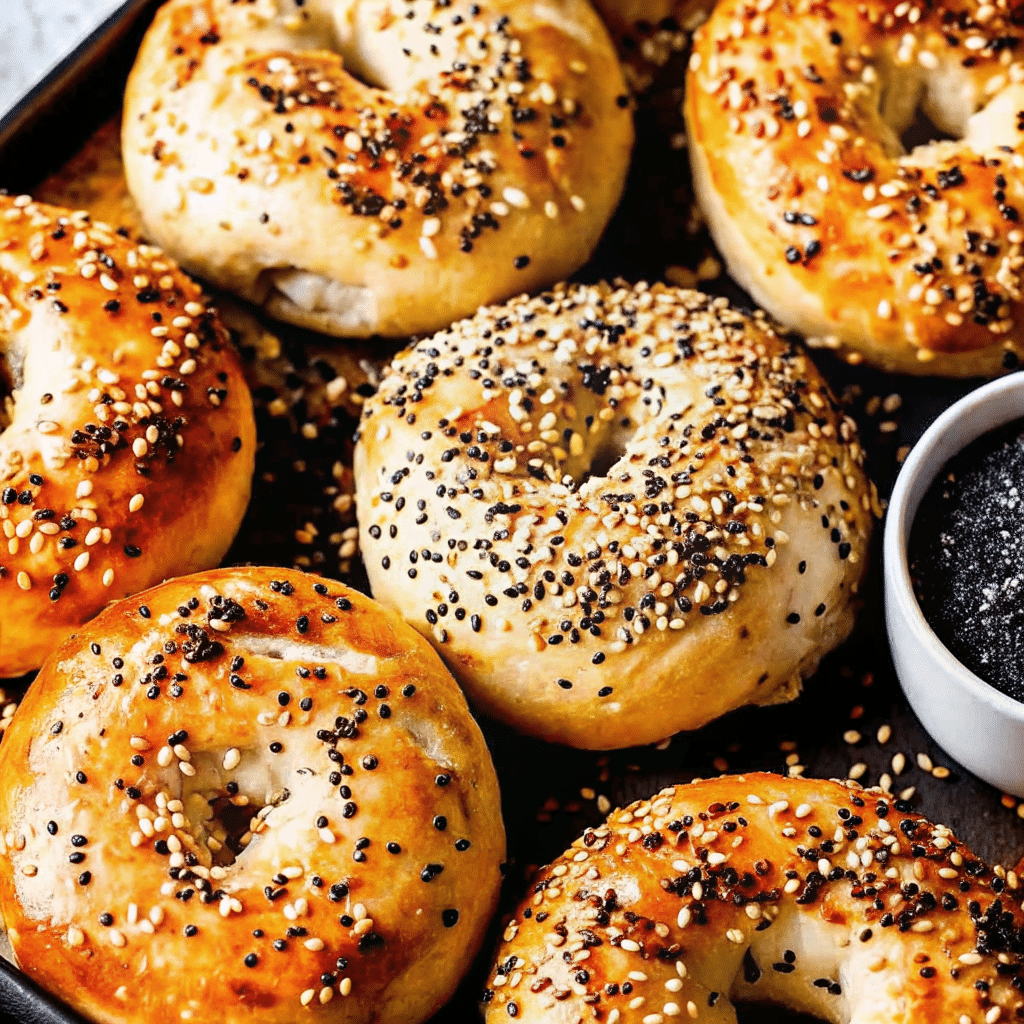
- Bake for 20–22 minutes (oven) or 10–12 minutes flipping halfway (air fryer), until golden and firm.
- Let cool for 5–10 minutes before slicing. Enjoy warm or store for later.

Nutrition
Notes
Tried this recipe?
Let us know how it was!Why This Recipe Works
✅ Zero Guesswork: We tested every step so you don’t have to.
✅ No Yeast Needed: Skip the wait and get bagels on the table fast.
✅ Protein-Packed: Each bagel delivers 11g of filling protein.
✅ Custom Results: Works with self-rising, all-purpose, or almond flour.
✅ Air Fryer or Oven: Choose your method, get great results either way.
✅ Beginner Friendly: Simple steps and clear visuals ensure success.
How to Serve and Store Cottage Cheese Bagels
Serve these bagels fresh and warm for the best taste. Slice them and toast lightly before adding your favorite toppings. Use them for breakfast sandwiches, lunch wraps, or enjoy them plain as a snack.
Store leftover bagels in an airtight container or a zip-top bag at room temperature for up to three days. Keep them out of the fridge, since refrigeration can make them go stale faster.
Freeze any extras if you don’t plan to eat them within a few days. Wrap each bagel in parchment paper and place them in a freezer-safe bag. Reheat frozen bagels in the oven at 350°F until warmed through, or pop them in the toaster if already sliced.
Prefer something a bit sweeter and bread-style? Try our cottage cheese banana bread—it’s soft, moist, and full of flavor.

Troubleshooting: Common Cottage Cheese Bagel Problems
Even the simplest recipes come with challenges. We’ve pinpointed the three most common issues when making cottage cheese bagels—and laid out the exact fixes. Read this before your next batch to guarantee soft, fluffy success.
Problem #1: “My dough is a sticky, unworkable mess!”
The Cause: Too much liquid in your cottage cheese. Some brands hold more moisture, and that extra whey turns your dough from shaggy to sloppy.
The Foolproof Solution:
Strain first. Place your cottage cheese in a fine-mesh sieve or a cheesecloth-lined bowl. Press firmly with the back of a spoon to remove as much liquid as possible. You’ll likely be surprised how much comes out.
Adjust with flour. If the dough still sticks after straining, add more flour one tablespoon at a time. Mix gently until the dough feels tacky but no longer sticks to your hands.
Problem #2: “My bagels came out flat and didn’t rise.”
The Cause: Over-kneading or shaping with too small a hole. Both stop the bagels from puffing up properly.
The Foolproof Solution:
Knead lightly. This dough doesn’t need much work. Mix until just combined, then knead for 30 to 60 seconds—no more.
Shape correctly. Make the center hole at least 1.5 inches wide. It may look too large, but the bagels expand from all sides during baking. A small hole will close up, giving you flat, dense results.
Problem #3: “My bagels taste overwhelmingly salty!”
The Cause: Both baking powder and popular toppings like Everything Bagel Seasoning carry a lot of sodium.
The Foolproof Solution:
Cut the salt. If you’re using a salty topping, reduce the salt in your dough to a pinch.
Choose unsalted butter. If adding butter to your egg wash, use the unsalted kind to avoid stacking more sodium on top.
Helpful Notes
Use full-fat cottage cheese to get the richest flavor and the best texture. If you only have low-fat, make sure to strain it thoroughly to avoid soggy dough.
Weigh your flour for the most consistent results. If you don’t have a scale, spoon it into your measuring cup and level it off.
Handle the dough gently. This recipe doesn’t need heavy kneading. Mix just until the dough comes together. Overworking it can make the bagels tough.
Line your tray with parchment paper or a silicone mat. This keeps the bottoms from burning and helps with even baking.
Watch your toppings. Everything bagel seasoning tastes great but adds a lot of salt. If you’re using it, cut back on added salt in the dough.
Check doneness by tapping the bottom of a bagel. If it sounds hollow, they’re done. Let them cool before slicing to avoid a gummy texture.
Love these savory chips? You should also try our protein-packed cottage cheese chocolate chip muffins for a sweet version.
Frequently Asked Questions
Can you use cottage cheese instead of Greek yogurt in bagels? What’s the difference?
Yes, you can use cottage cheese instead of Greek yogurt in bagels. Cottage cheese adds more protein and creates a softer, moister texture. Greek yogurt brings a tangier taste and slightly firmer bite. Both work, but cottage cheese gives a creamier, more tender result.
What’s the best kind of cottage cheese for making bagels?
Choose full-fat, small-curd cottage cheese for the best structure and flavor. It blends smoothly and holds the dough well. Low-fat versions also work but often contain more liquid, which makes straining even more important.
Why is my cottage cheese bagel dough so sticky?
Your dough feels sticky because of excess whey in the cottage cheese. Use a fine-mesh sieve to strain it thoroughly before mixing. If it still feels wet, add extra flour one tablespoon at a time until it becomes workable.
Can I make these bagels gluten-free?
Yes, you can. Use a one-to-one gluten-free baking flour that includes xanthan gum. Almond flour also works for a keto-friendly option, but expect a softer, cake-like texture instead of a classic chew.
How do I store these bagels so they don’t get hard or stale?
Keep them in an airtight container or sealed bag at room temperature for up to three days. Avoid putting them in the fridge, which can dry them out. If you want to store them longer, freeze them in a zip-top bag.
Are cottage cheese bagels actually healthy?
Yes. Compared to traditional bagels, these pack more protein and fewer carbs. The high protein content helps you feel full and supports a balanced diet. They make a great breakfast or post-workout snack. Check the nutrition section for full details.
💡 Pin it for later!
Love this recipe? Don’t forget to save it on Pinterest! Follow us at @Tastychoices_ for more easy, healthy recipes you’ll want to make on repeat.
Conclusion
These cottage cheese bagels deliver everything you want in a homemade snack or breakfast. They bake up soft, chewy, and golden with a rich protein boost that keeps you full. You don’t need yeast, fancy tools, or hours in the kitchen. Just a few simple ingredients and about 30 minutes.
Tried this recipe? Leave a comment and add your star rating to let others know how it turned out. Share your results on Pinterest or Facebook to inspire others. We’d love to see your version.
What toppings or fillings did you try? Drop your favorite combo below!